WordPress now powers a huge share of all websites on the internet, and for good reason. It doesn’t require coding knowledge, it’s free to use as software, and it scales from a simple personal blog all the way up to a full online store.
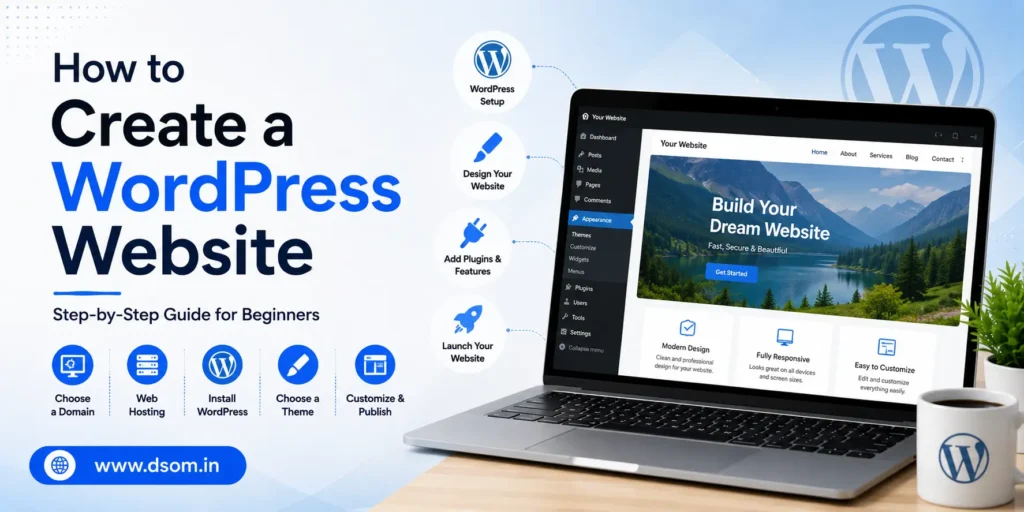
If you’ve been putting off building your own site because the process sounds technical, learning how to create a WordPress website is far simpler than most people expect, and you can realistically have something live within a single afternoon. This guide walks through every step in order: choosing between the two versions of WordPress, picking a domain and hosting plan, installing WordPress itself, selecting a theme, adding your core pages, and setting up the plugins that actually matter.
By the end, you’ll have a working, professional-looking website rather than a half-finished project sitting in a browser tab. Whether you’re building a portfolio, a small business site, or your first blog, the process to create a WordPress website stays largely the same.
WordPress.org vs WordPress.com: Know the Difference First
Before you start, it helps to understand that “WordPress” actually refers to two different things, and mixing them up trips up a lot of beginners.
| Version | What It Means | Best For |
|---|---|---|
| WordPress.org | Free, self-hosted software you install yourself | Full control, custom plugins, your own hosting |
| WordPress.com | A hosted service that manages everything for you | Quick blogs, less technical control, paid upgrades for features |
For most businesses, freelancers, and anyone planning to grow their site over time, self-hosted WordPress.org is the better path. 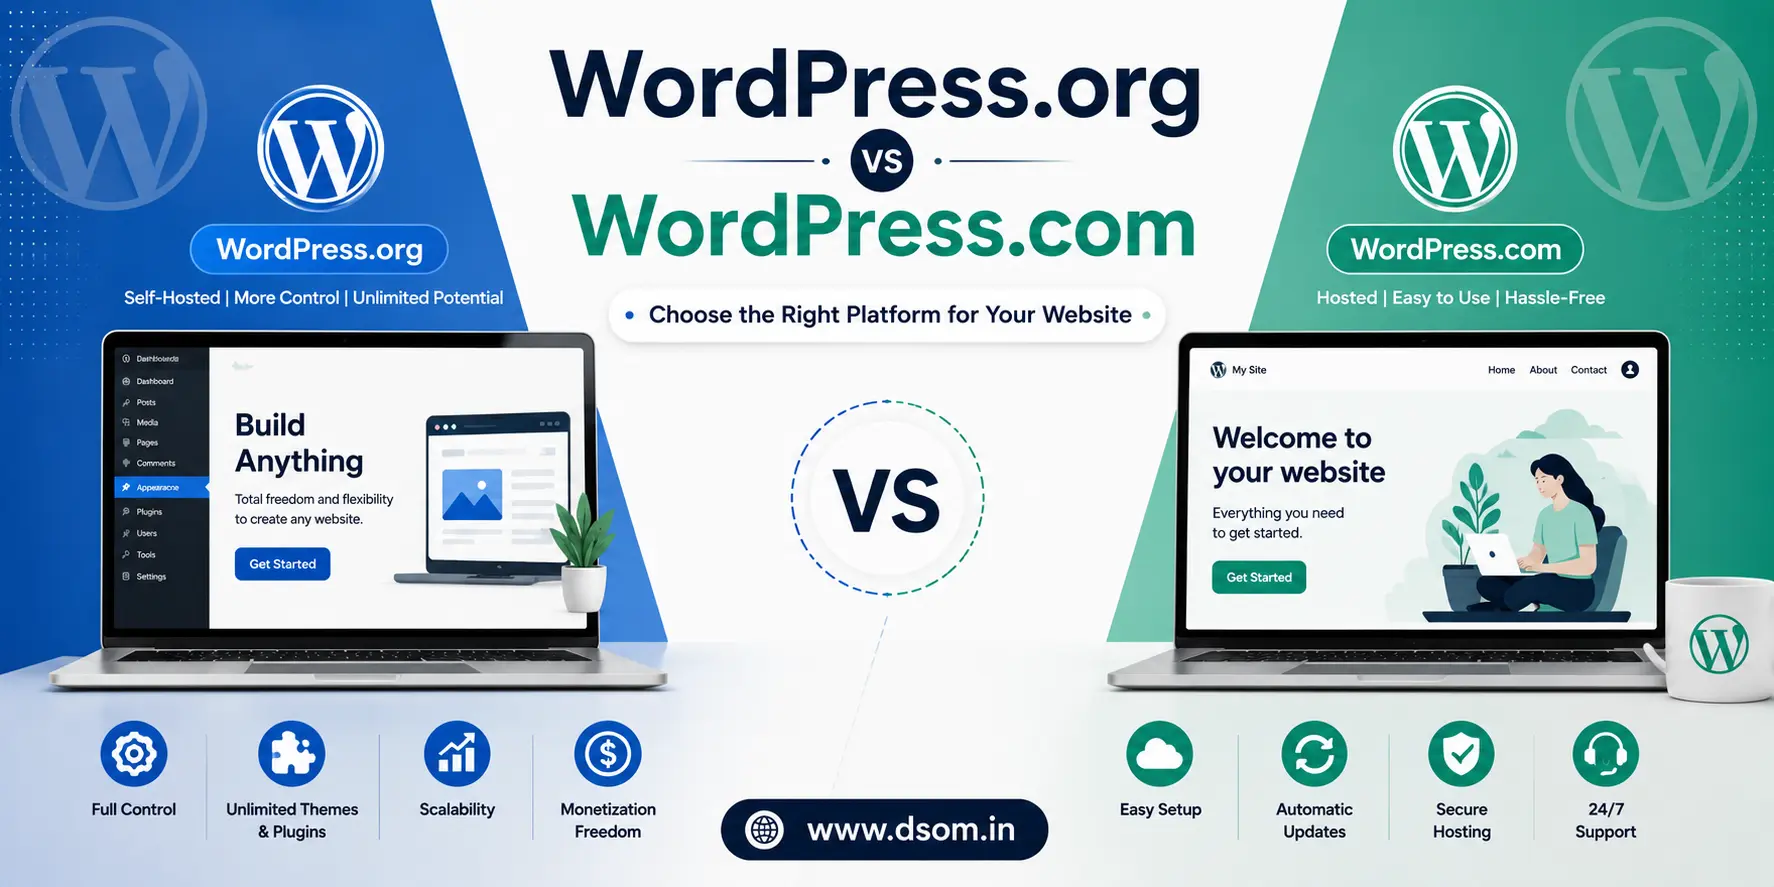
You get full ownership of your content, the freedom to install any plugin, and no platform locking you into a limited plan later on. This guide focuses on that self-hosted route, since it’s what most people actually mean when they ask how to create a WordPress website with real long-term flexibility.
Step One: Choose a Domain Name
Your domain name is your website’s address, the words people type into a browser to find you. Keep it short, easy to spell out loud, and as close to your brand name as possible. Avoid numbers, hyphens, and confusing spellings if you can help it.
A few quick rules worth following:
- Stick to a
.comextension when it’s available, since it’s still the most trusted by visitors. - Avoid trademarked names or anything too close to an existing well-known brand.
- Check that the name isn’t already taken on major social platforms too, for consistency.
Most domain names cost a modest amount per year, and many hosting providers include the first year free when you sign up for a hosting plan.
Step Two: Pick a Reliable Hosting Plan
Hosting is where your website’s actual files live. If your domain name is the address, hosting is the house itself, and choosing a good one matters more than most beginners realize.
| Hosting Type | Good For | Typical Cost Range |
|---|---|---|
| Shared hosting | New sites, blogs, small businesses | Low monthly cost |
| Managed WordPress hosting | Sites that need speed and less maintenance | Mid-range monthly cost |
| VPS or cloud hosting | Growing sites with more traffic | Higher monthly cost |
Most beginners do perfectly well starting with shared or managed WordPress hosting, then upgrading later if traffic grows. Look for a host that offers a one-click WordPress installer, responsive customer support, and a reasonable uptime guarantee, since a slow or unreliable host will undercut every other effort you make on the site.
Many providers also bundle a free SSL certificate, which secures your site with the padlock icon visitors expect to see and which search engines increasingly favor when ranking pages. It’s worth reading a handful of independent reviews before committing to a yearly plan, since renewal pricing is often higher than the attractive first-year rate advertised on the signup page.
Step Three: Install WordPress
Once your hosting is active, installing WordPress itself is usually the easiest part of the whole process. Most hosting dashboards include a one-click installer, so you rarely need to touch any code.
A typical installation flow looks like this:
- Log into your hosting account dashboard.
- Find the WordPress installer, often labeled clearly in the control panel.
- Choose your domain and confirm the installation.
- Set your site title, admin username, and a strong password.
- Wait a few minutes, then log in through your new
/wp-adminlogin page.
If your host doesn’t offer a one-click option, you can still install WordPress manually by downloading the software from the official site and uploading it through your hosting’s file manager, though this is rarely necessary with most modern hosts.
Step Four: Choose and Customize Your Theme
A theme controls how your website looks: colors, fonts, layout, and overall structure, without touching your actual content. By default, your fresh install will use a generic placeholder theme, which works but won’t make your site stand out.
A few tips when picking a theme:
- Choose something genuinely designed for your type of site, whether that’s a blog, portfolio, or business homepage.
- Prioritize speed over flashy animations; a fast, simple theme almost always outperforms a heavy, decorative one.
- Check that the theme is regularly updated, since outdated themes can introduce both security and compatibility issues.

To change it, go to your dashboard, open Appearance, then Themes, and browse the available options. You can filter by popular, latest, or specific categories depending on what kind of site you’re building.
Step Five: Add Your Core Pages
Every website needs a handful of essential pages before it’s ready for real visitors. Skipping these is one of the most common reasons a new site feels unfinished even after the design looks good.
| Page | Purpose |
|---|---|
| Home | First impression and main navigation hub |
| About | Builds trust by explaining who you are |
| Services or Products | Describes what you actually offer |
| Contact | Makes it easy for visitors to reach you |
| Blog | Optional, but useful for ongoing content and search visibility |
To add a page, go to Pages, then Add New, in your dashboard. WordPress uses a block-based editor, so you can drag in text, images, buttons, and other elements without writing any code.
Step Six: Install the Plugins That Actually Matter
Plugins extend what WordPress can do, from contact forms to SEO tools to security protection. The temptation is to install dozens of plugins, but a smaller, well-chosen set almost always performs better than an overloaded one.
| Plugin Type | What It Does | Why You Need It |
|---|---|---|
| SEO plugin | Helps optimize titles, descriptions, and structure | Improves how your site ranks in search |
| Caching plugin | Speeds up page load times | Better user experience and rankings |
| Security plugin | Blocks malicious login attempts and scans for threats | Protects your site from common attacks |
| Backup plugin | Creates regular copies of your site | Recovery if anything goes wrong |
| Contact form plugin | Lets visitors message you directly | Captures leads without extra tools |
Install plugins by going to Plugins, then Add New, and searching by name or function. Always check that a plugin has been updated recently before installing it, since abandoned plugins are a common source of security problems.
As a general rule, fewer than fifteen well-maintained plugins is a reasonable target for most small sites; piling on far more than that tends to slow things down without adding much real value.
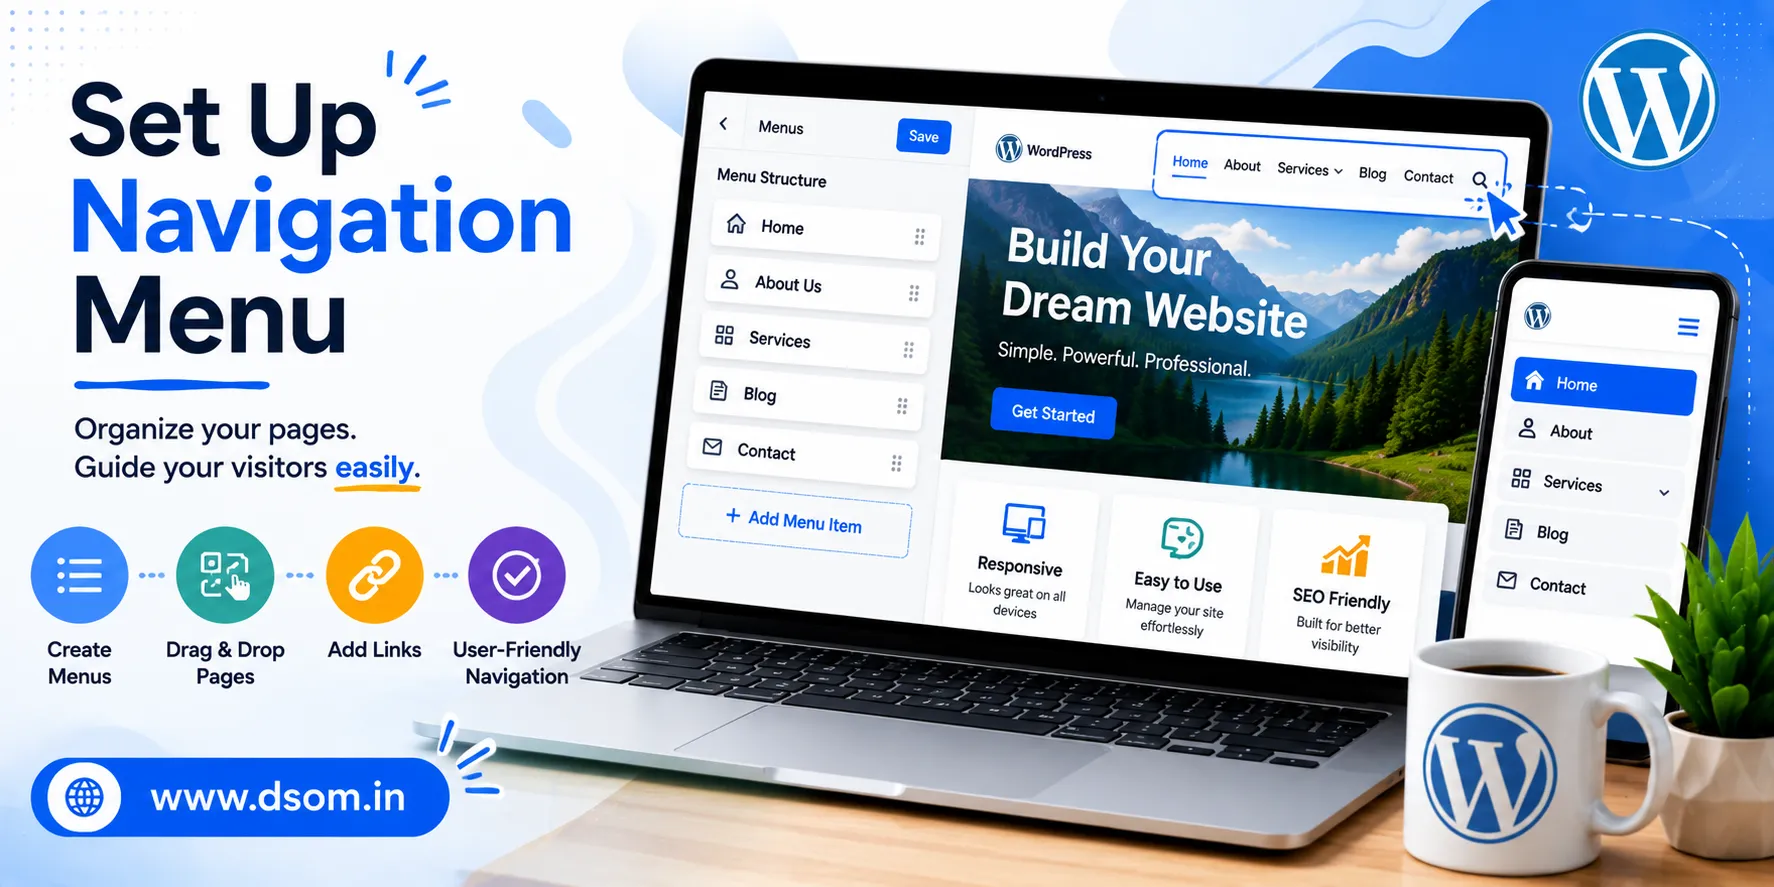
Set Up Your Navigation Menu
Once your core pages exist, visitors still need an easy way to move between them. A clear navigation menu is one of those details that seems minor but quietly shapes how professional your site feels the moment someone lands on it, and it’s an easy thing to overlook when you’re focused on simply learning how to create a WordPress website for the first time.
Head to Appearance, then Menus, and add your key pages in a logical order, typically Home, About, Services or Products, Blog, and Contact. Keep the menu short and obvious; cramming in too many links makes visitors hesitate rather than click.
Most themes also support a footer menu, which is a good place for secondary links like a privacy policy or terms page that don’t need top billing.
Basic Security Steps Before You Launch
A new WordPress site is a frequent target for automated bots, even before it has any real visitors. A handful of simple habits go a long way toward keeping it safe.
- Use a strong, unique password for your admin account, never something guessable.
- Change your login URL away from the default address if your security plugin allows it.
- Keep WordPress core, your theme, and all plugins updated regularly.
- Schedule automatic backups and store them somewhere outside your hosting account too.
None of these steps take more than a few minutes, but skipping them is one of the most common regrets among first-time site owners.
A Simple Launch Checklist
| Step | Task |
|---|---|
| 1 | Register your domain name |
| 2 | Choose and activate hosting |
| 3 | Install WordPress |
| 4 | Select and customize a theme |
| 5 | Add your core pages |
| 6 | Install essential plugins |
| 7 | Set up basic security and backups |
| 8 | Preview every page on mobile before going live |
Common Mistakes Beginners Make
| Mistake | Why It Hurts | Simple Fix |
|---|---|---|
| Choosing a host based only on price | Slow or unreliable sites lose visitors fast | Check speed and support reviews first |
| Installing too many plugins | Slows down the site and creates conflicts | Keep only what you actively use |
| Skipping mobile testing | Most visitors browse on phones | Preview every page on a real device |
| Ignoring updates | Leaves the site vulnerable to attacks | Update WordPress, themes, and plugins regularly |
| Launching without backups | One mistake can wipe out months of work | Schedule automatic, offsite backups |
Final Thoughts
Creating a WordPress website doesn’t have to be complicated. Start by choosing a domain name and hosting provider, install WordPress, select a clean theme, and build your essential pages. Focus on creating a functional website before worrying about advanced features or design tweaks.
If you’re new to website creation, learning from experts can help you avoid common mistakes. DSOM (Dehradun School of Online Marketing) offers practical WordPress training that teaches beginners how to build, manage, and optimize websites effectively.
The key to success is taking action. Launch your website, keep it updated, and improve it over time. A live website that grows with your business is far more valuable than one that never gets published.